
What a short weekend filled with many things to do, but even with how busy it gets i always seem to be able to squeeze in a little time for sewing, i also made time to go through my fabric stash and organize (who knows how long that reorganization will last) anyways while i was going through my fabric stash i found alot of fabrics i forgot about.......and below is what i whipped up real quick from some "forgotten fabric" not bad? ...i think I'll need to add some ruffles somewhere....what do you think?

I don't know what it is but i just LOVE making clothes for my daughter!
Also while looking through the stash i came across a lot of this fabric
and the first thing that popped into my head was that i needed to make some bias tape! If you've never made bias tape before it is super easy -and in my opinion can save alot of money!

So here we go.... my version of how to make bias tape here's what you'll need.
Supplies:
A rectangle piece of fabric
Thread
Scissors
Ruler
Pins
First lay your fabric out

Then fold one corner of the fabric up creating a triangle

Cut the triangle and place it on the opposite end.

Place the fabric right sides together and sew to create a parallelogram.

It should look like this - if you want you could just cut a trapezoid shape out of fabric but i think this method is easier with less cleanup :)

Next you will need to decide how thick you want your tape to be in the end, and then multiply it by 4 and this will help determine how wide your strips will be. I wanted to have it 1/2 inch in the end,so i made my strips 2 inches wide.

2 hours later.....no not really....but here is all the strips cut nice an pretty

When sewing the strips place right sides together,and then sew across where the 2 fabrics meet.

Next unfold the strip,iron the seam and trim the excess threads and fabric, and then repeat until you have one long strip.

Next you will iron it in half to make a middle line unfold then fold up the edges to that line and iron again.Then you'll re-fold it again at the center line and iron - this makes your bias tape 4 layers thick.

I love homemade bias tape! And i know i will be making alot more in the future!

Here i used it - say hello to reversible bib,this is one side
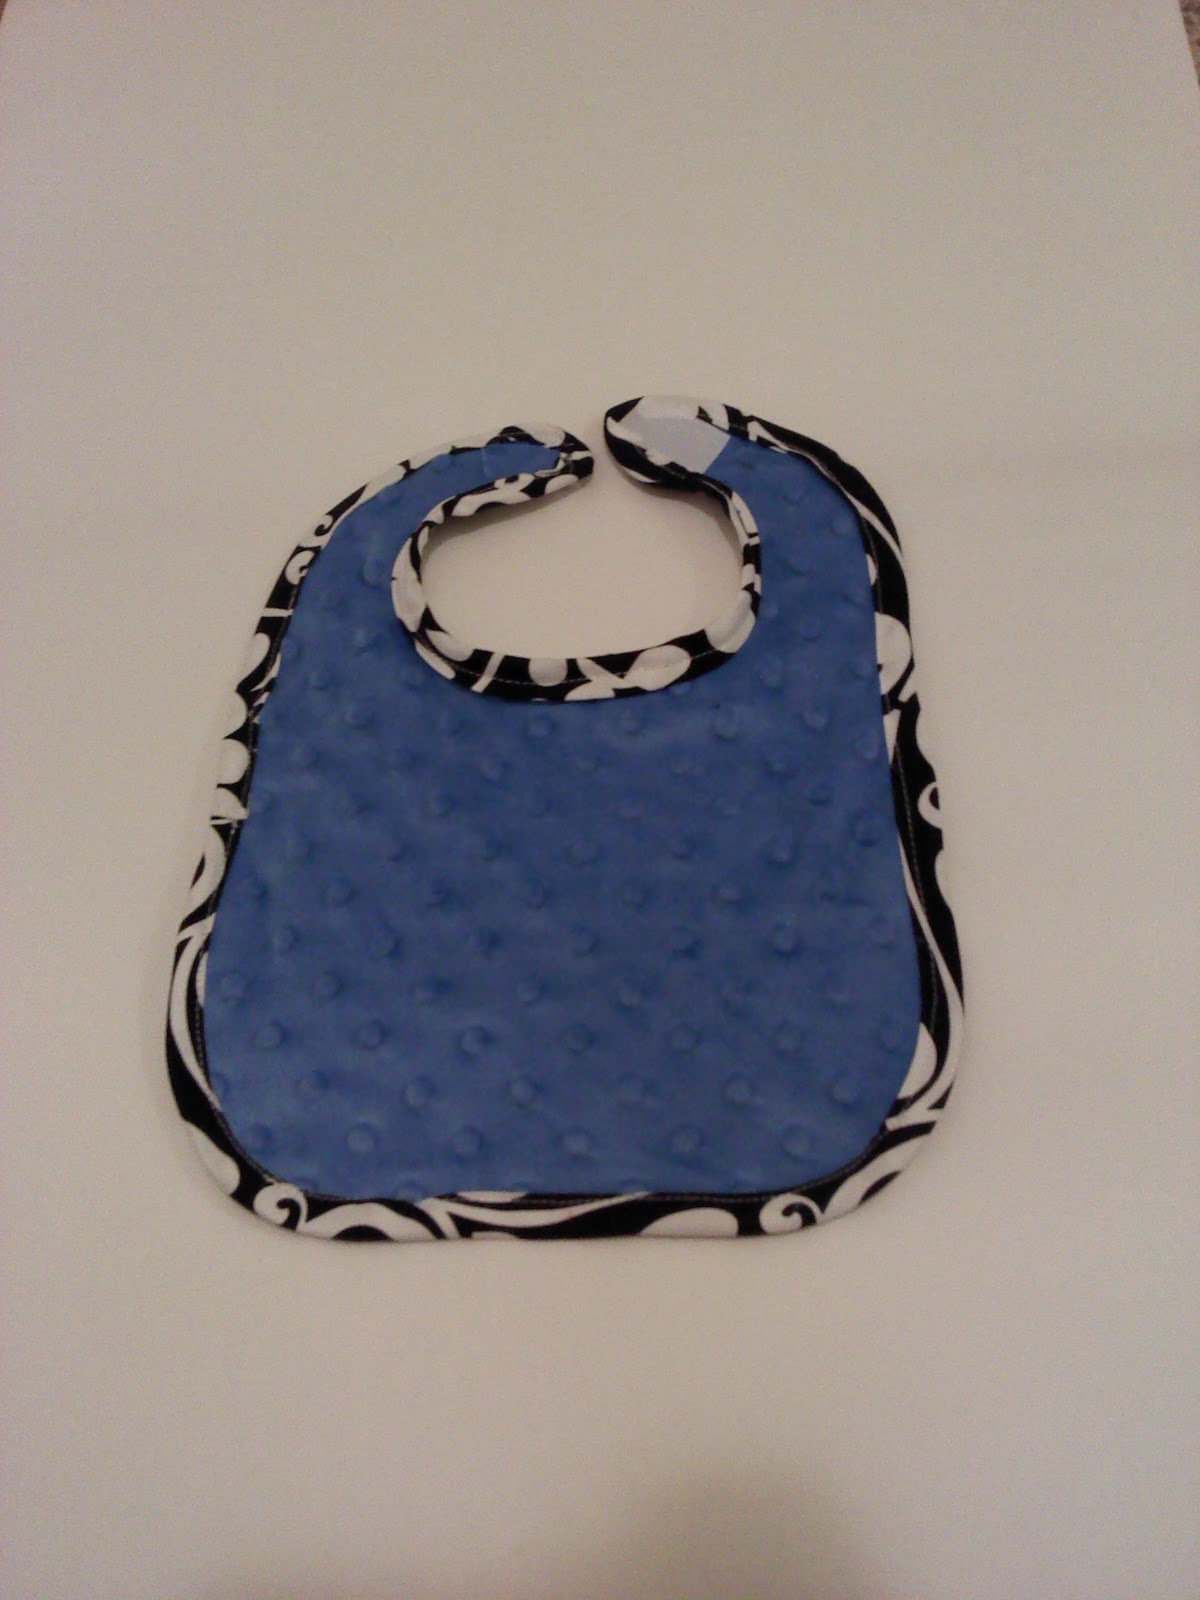
Here's the other side!

There is just so many options!


Great tutorial, thanks! Pinned this to try myself sometime.
ReplyDeleteThanks for the tutorial. I love bias tape, it makes things just look prettier and more put together.
ReplyDeleteI'm stopping by from the blog hope. Hope you can check out my blog at
thecheesethief.blogspot.com
I'm a new follower
This is a great tutorial! I have always had trouble with this ;-) Thanks for your kind comment on my caterpillar picture!
ReplyDeletesoo nice! I like the fabric.
ReplyDeleteI'm in the middle of undertaking this project...however I find that I'm in the midst of making probably over 20 feet. It's quite tedious (I'm in the middle of ironing), but I look forward to the result.
ReplyDeleteWow that's great! 20 feet is a lot but it will be worth it when it's done!
ReplyDeleteThanks for the great tutorial. However I was a bit confused when you said to make a trapezoid. That's actually a parallelogram :)
ReplyDeleteThanks for catching that! I went in and fixed it :)
DeleteWhen iron the seam and trim the excess threads and fabric, and then repeat until you have one long strip. Now it's time to avail https://zapshutters.co.uk/" for more information.
ReplyDelete